

WatchMon Toolkit - How to setup cloud data storage to ThingSpeak.com
Useful to easily enable remote viewing of the BMS data over the internet. Many of the selectable charting fields can be sent to the cloud data storage service, entirely based on your preferences.
Note: WatchMonToolkit software is required to be running to push updates to cloud.

The software automatically reduces the updates when the values are stable and sends more frequently when changes occur. With quick response down to 15 seconds and stretching to 5 mins to reduce bandwidth when the system has no changes.
There are up to 3 channels/agents that can sent up to 24 fields, below are the defaults:
- Agent 1 - Cellmon related
- Field 1 - Cell Volt Min
- Field 2 - Cell Volt Max
- Field 3 - Cell Volt Average
- Field 4 - Cell Temperature Min (Celcius)
- Field 5 - Cell Temperature Max (Celcius)
- Field 6 - Bypass Current Max (Amperes)
- Field 7 - Bypass Temperature Max (Celcius)
- Field 8 - number in Bypass
- Agent 2 - Shunt Soc% related
- Field 1 - SoC%
- Field 2 - Shunt Voltage
- Field 3 - Shunt Current (Amperes)
- Field 4 - Capacity to Empty (Ah)
- Field 5 - Recent Consumption - Charging
- Field 6 - Recent Consumption - Discharging
- Field 7 - Daily session cumulative - Charging (Ah)
- Field 8 - Daily session cumulative - Discharging (Ah)
- Agent 3 - Remote Inverter/Charger related
- Field 1 - Charge Actual Voltage
- Field 2 - Charge Actual Current (Amperes)
- Field 3 - Charge Target Voltage
- Field 4 - Charge Target Current (Amperes)
- Field 5 - Discharge Actual Voltage
- Field 6 - Discharge Actual Current (Amperes)
- Field 7 - Discharge Target Voltage
- Field 8 - Discharge Target Current (Amperes)
Step 1 - Register a account to the ThingSpeak.com
Step 2 - Create a account that you will push your data to
Step 3 - Create a new channel
Step 4 - Configure the channel
NB: Other field labels have be choose, these are typical options we have defaulted
Step 5 - Configure the visual charting options
NB: this only highlights the basic options, for more help read the documentation available from ThingSpeak.
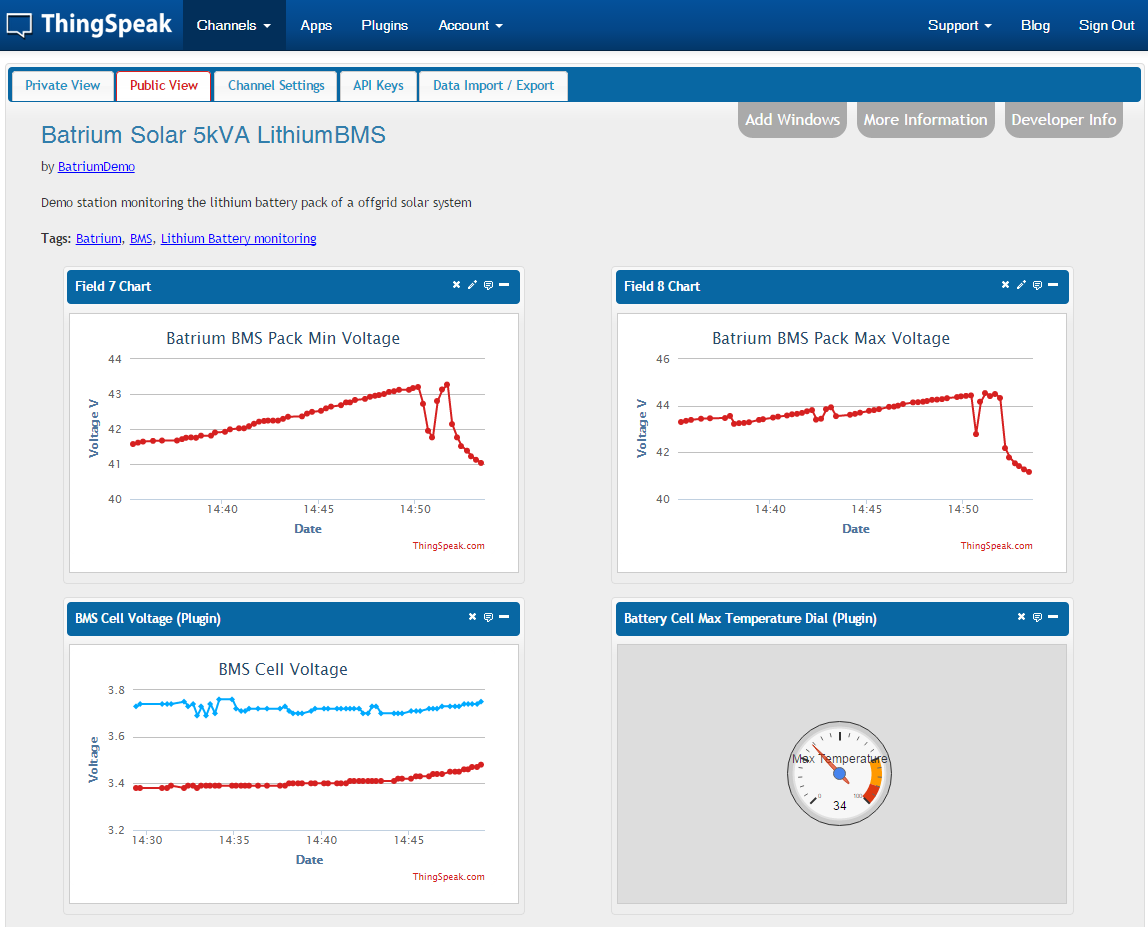
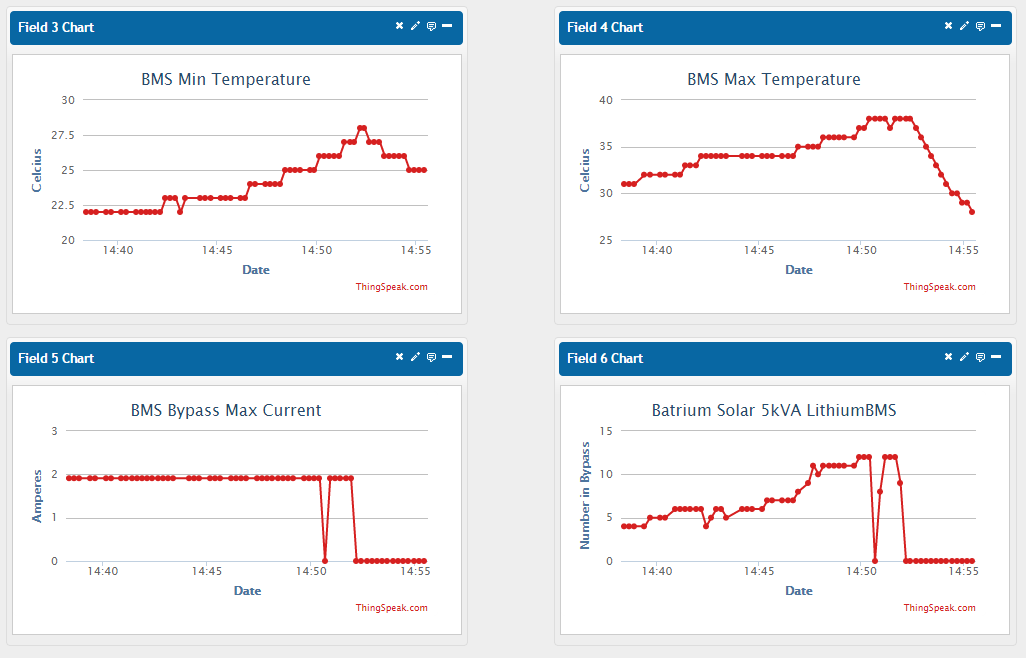
Step 6 - Here is a outline of the example we have adopted as the demo for both the private and public view of the channel.
Step 7 - copy the write key to configure within WatchMonToolkit
Step 8 - Within WatchMonToolkit navigate to Tools > ThingSpeak Client

Step 9 - Configure the WriteKey with matching configuration

Configure and enable up to 3 agents.
Step 10 - Select you preferred fields using the Wand selection

NB: align to settings within ThingSpeak, alternatively press the default button
Step 11 - Press Start to store the configuration and run the processing agent
Step 12 - Monitor both ThingSpeak.com and the WatchMon Toolkit screen.
Check out the live demo at https://thingspeak.com/channels/173086#publicview